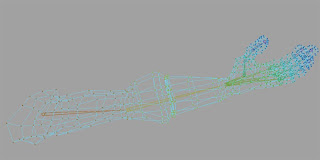
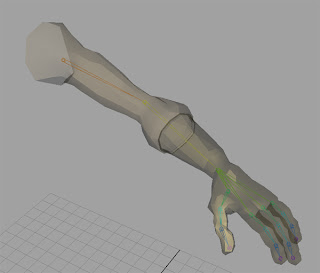
After going over a few simple rules, the task was to bind this arm to a skeleton. (The skeleton was not provided)
I've always read in the text books that you have to paint skin weights, and I have tried that myself before. I've always found it to be the most confusing and annoying thing in Maya. This alternate technique involves actually selecting individual vertex's and assigning them a weight to the bones. The one key thing to remember is to always add weights... never subtract. I found this alternate way much easier. At least from an understanding point of view anyway.
Here is the final result.


The other tasks were to do with blend shapes. Apart from the obvious uses (blending between multiple shapes), it has its uses for a variety of other tasks.
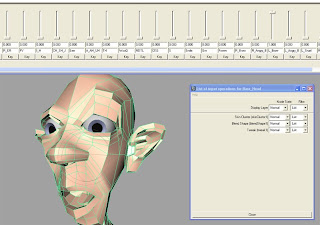
The first task was actually just a useful tip that you can actually swap the order of which deformers deform geometry. The priority of the deformer does have a difference in how the geometry is shaped.
This images shows the blend shape deforming his eye. The blend shape is the first in the list to deform(raising the eyebrow and keeping the mouth closed), then the deformed geometry is deformemed again by the skeleton in order to open the mouth. If it was the other way round, the skeleton would deform the geometry first (opening the mouth), then the blend shape would close the mouth and deform the eye as well.

Mirroring Blend shapes.
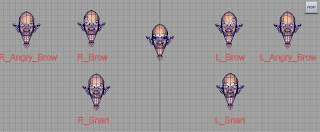
Unfortunately you can't duplicate and flip a deformed face (for facial animation) or any geometry for that matter as the individual vertexs would still register as unchanged. Kind of like if you were to write the word left on a piece of paper and flip the paper over, it would still say left but backwards. There is a work around by sculpting a new face from the base model, based on a flipped version of a deformed piece of geometry. Well everyone who's done this tutorial will know that it involved using blend shapes and a wrap deformer.
Here is the result of mirroring blend shapes. (click to enlarge as usual)

Positive Negative Corrective Blend Shapes
In this example, the face opens its mouth, but the problem is that his cheeks would go inwards as the mouth opens. In order to correct this we have to use blend shapes. The idea is that by creating a positive blend shape that will be deformed with his mouth open and cheeks inwards and a negative blend shape that is left unchanged (but with his mouth open), you can create a shape that is impossible to accurately model that is a cross between the two. ie... a closed mouth with cheeks inwards. Switching the order of deformers so that the blend shape comes first and linking it with the opening of the mouth allows the face to open the mouth while the cheeks go inwards.
Here is the final result.
I don't know why I decided to explain everything today. I guess it helps me to remember things.

That was a good post Ethan - keep on explaining!
ReplyDeleteI love the 'explaining stuff', Ethan - and long may it continue; one of the reason why note-taking and writing up is valuable is that it encourages mental recall - if I write something, it stays put in the old grey matter - it also makes your blog very narrative - and people like that! :-)
ReplyDelete